Friday, November 28, 2014

My Thanksgiving Manicure

Hello, all! I hope all of you who celebrate it had a wonderful Thanksgiving! I'm still recovering from my turkey-induced coma. :) As you can tell, as a beginner I'm sometimes too ambitious with my nail art. This time is no exception. I've shown you proof that I'm just no good yet at stamping. That being said, what did I try on this attempt? Double stamping!


For this look, I used a base of Wet n Wild Megalast in Under Your Spell, which is a rich, vampy burgundy that's full of red shimmer. I then stamped it with a wood grain pattern from Bundle Monster's 2014 CYO collection, plate BM-608. For this I used Sally Hansen Complete Salon Manicure in Bittersweet, which I'd describe more as a creamy milk chocolate color. After a top coat, I stamped a leaf pattern from plate BM-617 using Sally Hansen X-treme Wear in Golden-I. I love this color for stamping because of its super shiny foil finish. I finished it all off with a matte top coat that I got months ago from a Cult Cosmetics buy 1, get 2 free sale.


So, while it's by no means perfect, (some gaps in the stamped images, I flooded a couple cuticles with acetone rushing through clean-up), I'm actually quite happy with how this manicure turned out. I hope you enjoyed it, and thanks so much for looking!

Tuesday, November 25, 2014

Gradient for a Snowy Day and Help Me Ronda Body Care


Greetings! Yesterday, we got our first covering of snow. It wasn't much, just a little lake-effect snow, but it was enough to stick. I love the way snow looks (particularly when I'm inside and toasty), so I was inspired to attempt a gradient. Naturally, I chose blue, my favorite.

I started with a layer of Nubar Foundation and a base of butter London Slapper. Then, I sponged on a couple layers of Slapper with butter London Cotton Buds and a darker blue by Polish & Co. called Bout That Life to create my gradient. What I like best about snow is how when the light hits it in a certain way, it glitters like diamonds. For that effect, I chose to add a layer of KBShimmer Happily Ever Aster. It's a glitter topper containing white, light blue, lilac, and holographic glitters in different shapes and sizes. What especially reminds me of snow are the holo microglitters that give off that little flash when I have my hand at a certain angle. It's all topped off with Seche Vite.


As it seems we've skipped fall and headed directly into winter, at least here in Chicago, I've got a product I'd like to share with you. I have eczema and also suffer from dry skin in general. A couple months ago, I entered a giveaway hosted by AIPAS, the Australian Indie Polish Appreciation Society. I was super lucky and won the prize offered by the very sweet Ronda, of Help Me Ronda. I received the Rub-A-Dub Scrub and Cuticle Hydration Balm, both in my choice of scent. I picked the Green Appletini, because...yum! Ronda was also kind enough to send me a Cuticle Cocktail in Pina Colada, as well!


First, let me tell you about this scrub. It is so luxurious! It's written on the package that a little goes a long way, and that's no exaggeration. Just a dab rubbed into my hands and rinsed off made a huge difference from the very first use. My hands have always been rough and dry, and even with the heavy duty moisturizing I do because of my eczema (Vaseline, Eucerin), a few hours later they'd be dry again. With Rub-A-Dub Scrub, though, my hands remained soft and supple throughout the day, even after all the hand washing I do. I intended to use this strictly as a hand scrub, because the eczema makes my skin extremely sensitive. The oils and butters it contains, though, are all natural and made from various seeds and leaves, so I took a chance...I'm so glad I did. This is so much more moisturizing than the sugar scrubs and body washes I normally use, and the effects last much longer. It's even great on areas that are generally rougher, like heels and elbows.


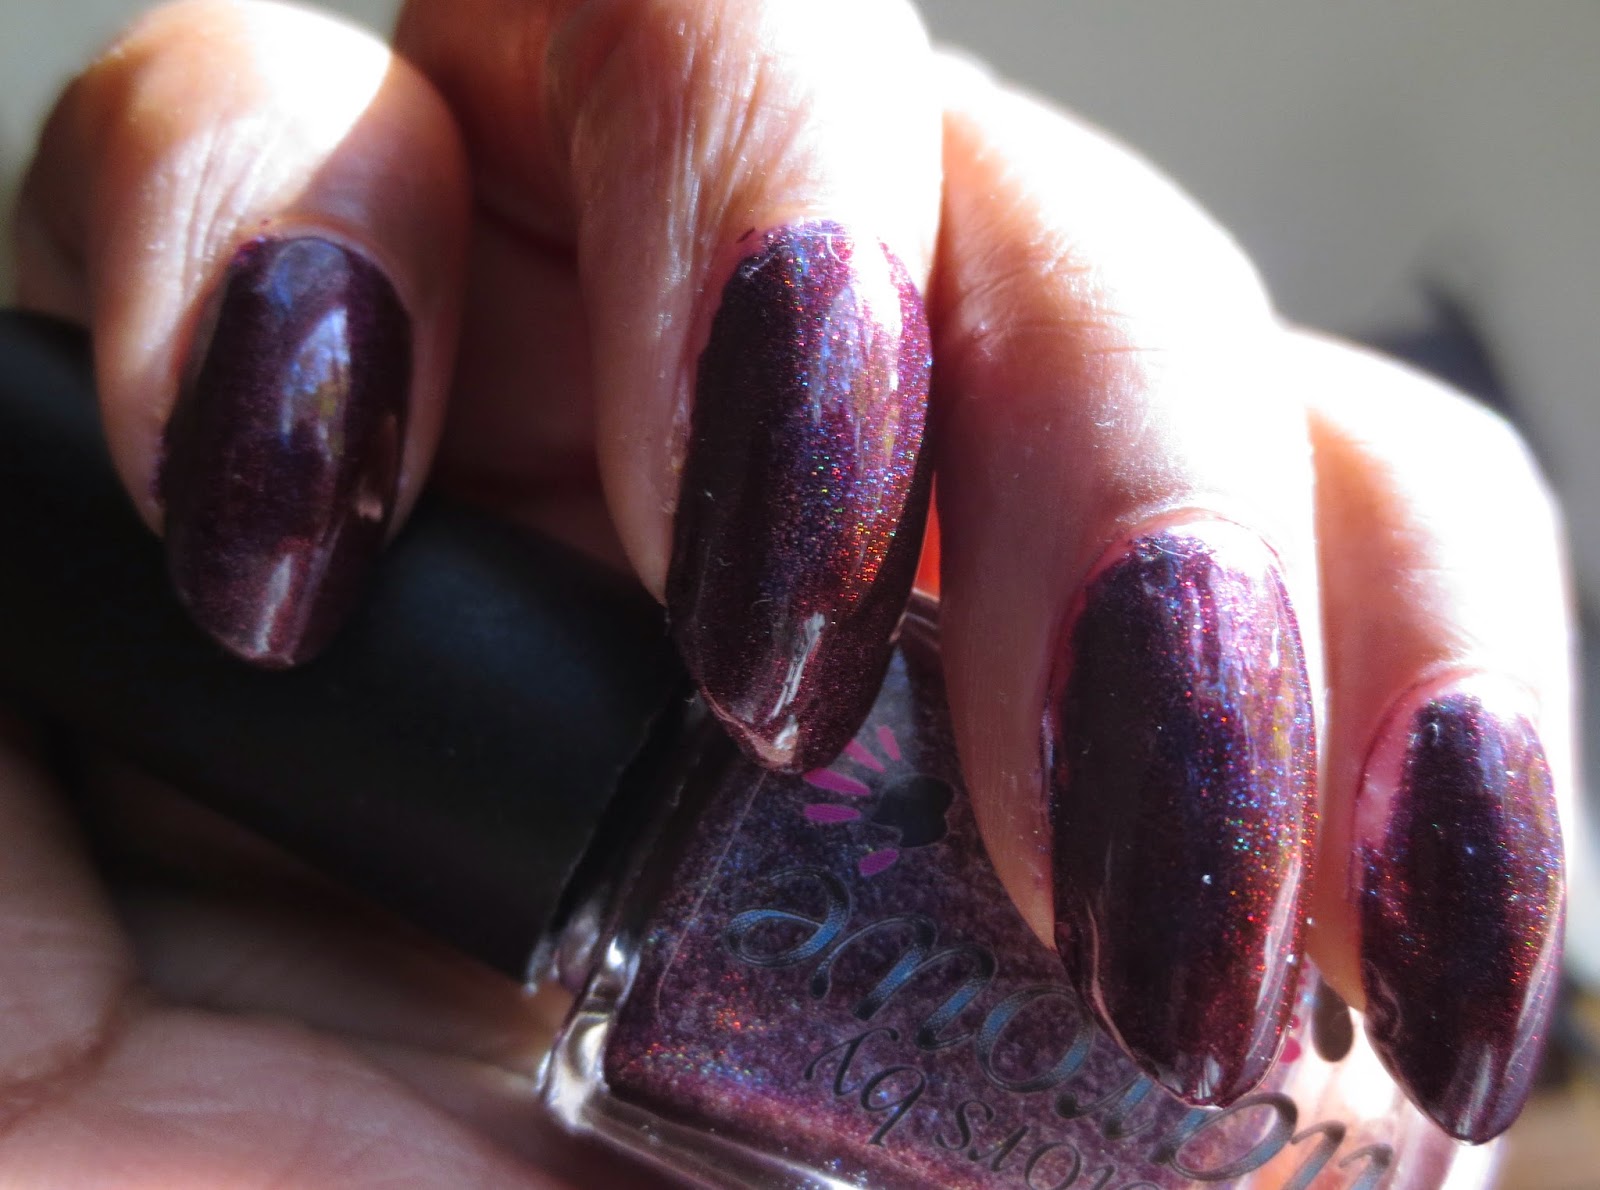
I love the Cuticle Cocktails just as much, if not more. They're extremely hydrating, and I find I don't have to reach for my cuticle remover as often. It also works great on any dry bits you might have. It, too, lasts through multiple hand washes. A little goes a long way for these, too. Just a tiny dab moisturizes all my cuticles! I use this after manicures and before bed. I also keep one in my purse to use when I'm out.  Even the one I'm using twice a day or more is still more than half full! You can see in my pictures that it's not greasy or shiny. Even when just applied, it doesn't leave residue on my keyboard or fingerprints on my phone screen. I also love the scents. They smell delicious and just like real fruit, but they are not at all overpowering. If you just can't bear any type of fragrance at all, though, Ronda's products can be purchased unscented, as well. I absolutely adore these skin care products, and I'll definitely be restocking my supply. I'm also dying to try the bath salts...they're next on my list! As always, thanks so much for looking!


Sunday, November 23, 2014

Bundle Monster 2014 CYO Stamping

Greetings! Today, I have Burning Embers from the Colors by Llarowe fall 2014 collection. Sadly, it is no longer offered, as it was one of their limited edition shades.To me, it's perfect for fall and I was lucky enough to grab one before they were gone. It is a gorgeous multichrome that shifts through copper, black, and magenta and contains tons of red and gold shimmer. It reminds me of my absolute favorite thing about fall, the changing leaves.

 
I just love CbL's formulas! The few I've tried have applied like a dream, and Burning Embers was no exception. It was a little thick, so I added a few drops of thinner, and applied two syrupy smooth coats over Nubar Foundation, then topped it with Glisten & Glow's HK Girl.


I'd gone four (chip-free!) days and decided it was time for a polish change when the mail arrived...containing my Bundle Monster CYO 2014 collection! This is my first Create Your Own collection (and only my second ever stamping plate purchase), and if you're not familiar, it's a stamping plate set filled with designs created by fans. I'm new to stamping (as you can clearly see), so it's exciting to have plates designed by bloggers I follow and whose art I admire so much. So, I immediately reached for my Konad white. The first design I tried was created by the talented Eva over at Flight of Whimsy. Her design can be found on plate BM-607, and my attempt does it no justice.

I also tried another image from the same plate, and here you'll have a rare look at my right hand. I keep the nails on this hand trimmed much shorter, mostly because it's my dominant hand and I just cannot grasp the fact that I'm not supposed to use my nails to do things. They grow just as well as on the left, but I always end up hurting myself. I chose a more forgiving design for these since I'm not at all adept in the use of my left hand.


These Bundle Monster plates are amazing! My only complaint is that the full sized images are a little too small. I currently use the firm double-ended Konad stamper. I'm waiting for what I think is a squishy stamper to arrive. I understand beginning stampers have better luck with the squishier ones, so I'm hopeful. Until then, I'll keep trying. Thanks for looking!

Friday, November 21, 2014

A fun and simple Zoya manicure

Hello, again!

Today I kept things fairly simple with an easy Zoya-cure. My base coat was the usual CND Stickey, to which I added two coats of Zoya Teigen and a coat of Seche. This is a raspberry color, and while I am admittedly not a fan of reds and burgundies, Teigen is shot through with a ton of red and gold shimmer that caught my eye immediately. In fact, I wore it for a few days as a full manicure.


All the shimmer gives Teigen a lit-from-within quality that really impressed me. I also loved its smooth and easy application.


After about three days, I had some minor tip wear, and decided to freshen things up a bit. I used tip guides and Zoya Ryan for a quick french manicure. Ryan is a blackened navy creme that I'll definitely be using again soon for another look. To liven it up further, I used Ryan and a dotting tool for a few dots near the cuticles before topping it all off with Seche Vite.


In all, I thought this was a fun look to wear, and Teigen is a fabulous fall color that reminded me of the changing leaves. It was nice to wear something in the red family, which is definitely not the norm for me. It's not surprising, though, that in the end I managed to incorporate blue anyway. I still think the whole manicure managed to be appropriate for fall. What do you think? Thanks for looking, and have a great weekend!

Tuesday, November 11, 2014

My First Striping Tape Mani...and Fail!

I'd been to several beauty supply stores trying to find striping tape, all to no avail.  Since I had no luck finding any, my very sweet mother ordered this set for me as a surprise. Thanks, Mom! :) She shakes her head at my obsession and enables me all at the same time...that's love! I figured striping tape was something I'd be able to master fairly quickly. Hey, it's tape...how hard can it be to use, right? Well...

For this manicure I used a base of my usual CND Stickey, followed by two coats of Essie No Place Like Chrome. I let it dry and added striping tape, which I then covered with Sally Hansen Midnight in NY and removed the tape. Then, I topped it all with Seche Vite.


What I learned:
In applying the tape, I realize now that in some places it wasn't completely flat on the nail, which means some polish got underneath. I also let the Midnight in NY dry too much on some nails, which caused it to lift in some places when I removed the tape.

Still, I wore this mani for a few days, because it was actually kind of cute (especially if you didn't look too closely), but mostly because...it was my very first time using striping tape! So, while it's clearly not my best work, I'm committed to sharing my failures as well as my successes...it's all about the journey.

Thanks for looking!

Wednesday, November 5, 2014

Colors by Llarowe - Mercy

Greetings! Today's post is about Colors by Llarowe Mercy. Mercy is part of the CbL Fall 2014 collection, and is described as a "deep eggplant intense linear holo". Although on me, the color read more burgundy than eggplant, it was deep, rich, and almost vampy under indoor lighting. When the sun hit it, though, the rainbows came out to play! The holographic effect was so strong I could hardly take my eyes off it.


Please note: Any flaws are the result of my terrible polishing and clean up skills...I'm working on it!  Mercy applied smoothly, and was fully opaque in one coat. That's right, a one-coater! I did apply two coats, though (pure habit), over a base of CND Stickey. I topped it with a coat of Darling Diva Pryzmatic Performance Enhancing Top Coat. I'll be writing more about PETC at a later date.


Photos were taken in a combination of direct and indirect sunlight. I used my flash for the last two in an attempt to capture the holo flame and show off those amazing rainbows.


Generally, I am not a fan of traditional fall colors. I prefer blues and brights year-round, but CbL Mercy is a stunner. Mercy, indeed!